Custom Search

Friday, October 15, 2010

Enjoying the Country

Just returned back from the country. Worked on undoing the sweaters and washing them.


Cut up 5 pairs of jeans (on the chair) for either a rag rug or a woven rug-not sure, yet.


Found a quilt holder to wind the yarn into hanks.


Hung the yarn after washing.

Finished a baby rug from this huge ball of leftover yarn before I left.
Also, started on another baby round infant rug.
Had so much fun.


Thursday, October 7, 2010

New Item to share

I know it has been a while but the there has been a whirlwind of great things happening to me.
Recently went to Sustainable Fibers in Elgin, Texas and I must say they are a great group of fine artisans.
If you go further to  Paige, Texas, you can also stop at Yarnorama and see all the new beautiful yarn that Susan has in store. The Yarn Crawl has started and the LYS from Austin to San Antonio have alot of great goodies for those who participate.
I have been reading many books on dyeing yarn, spinning, a little on weaving, and lately on rag rugs. Too cool. Been looking at the great economical thrift stores for recycling sweaters. Can't get enough.
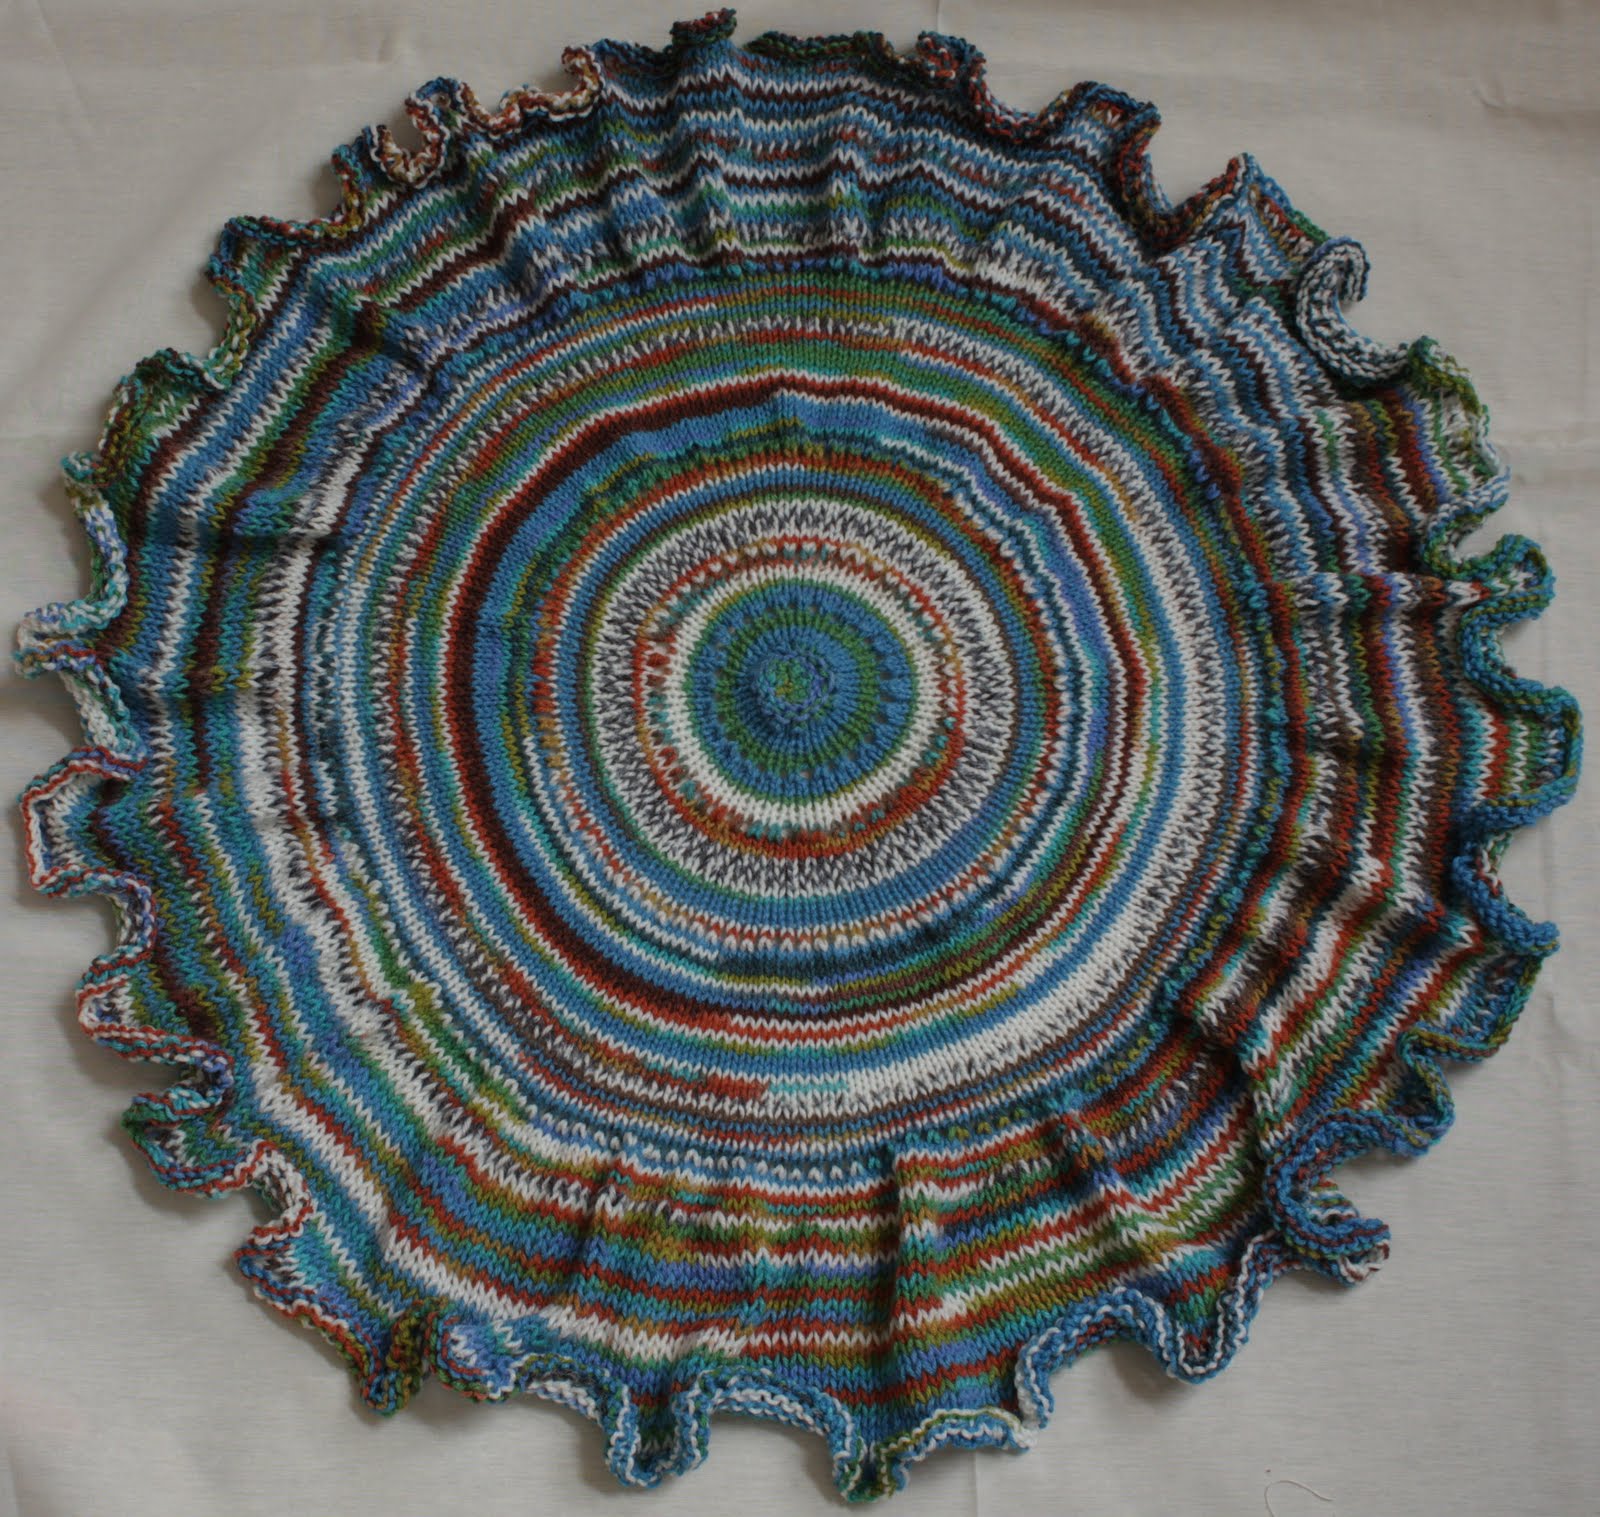
The most important point I want to share is a motif taken from my mother's quilt that she gave me after I lost
all those quilts from a past hurricane. It's going to be her birthday soon and I wanted to give her something I made from the heart and to say thanks for her unconditional support. Let me just say that I went through many prototypes and finally came up with this one. I would  love to share this pattern with you.


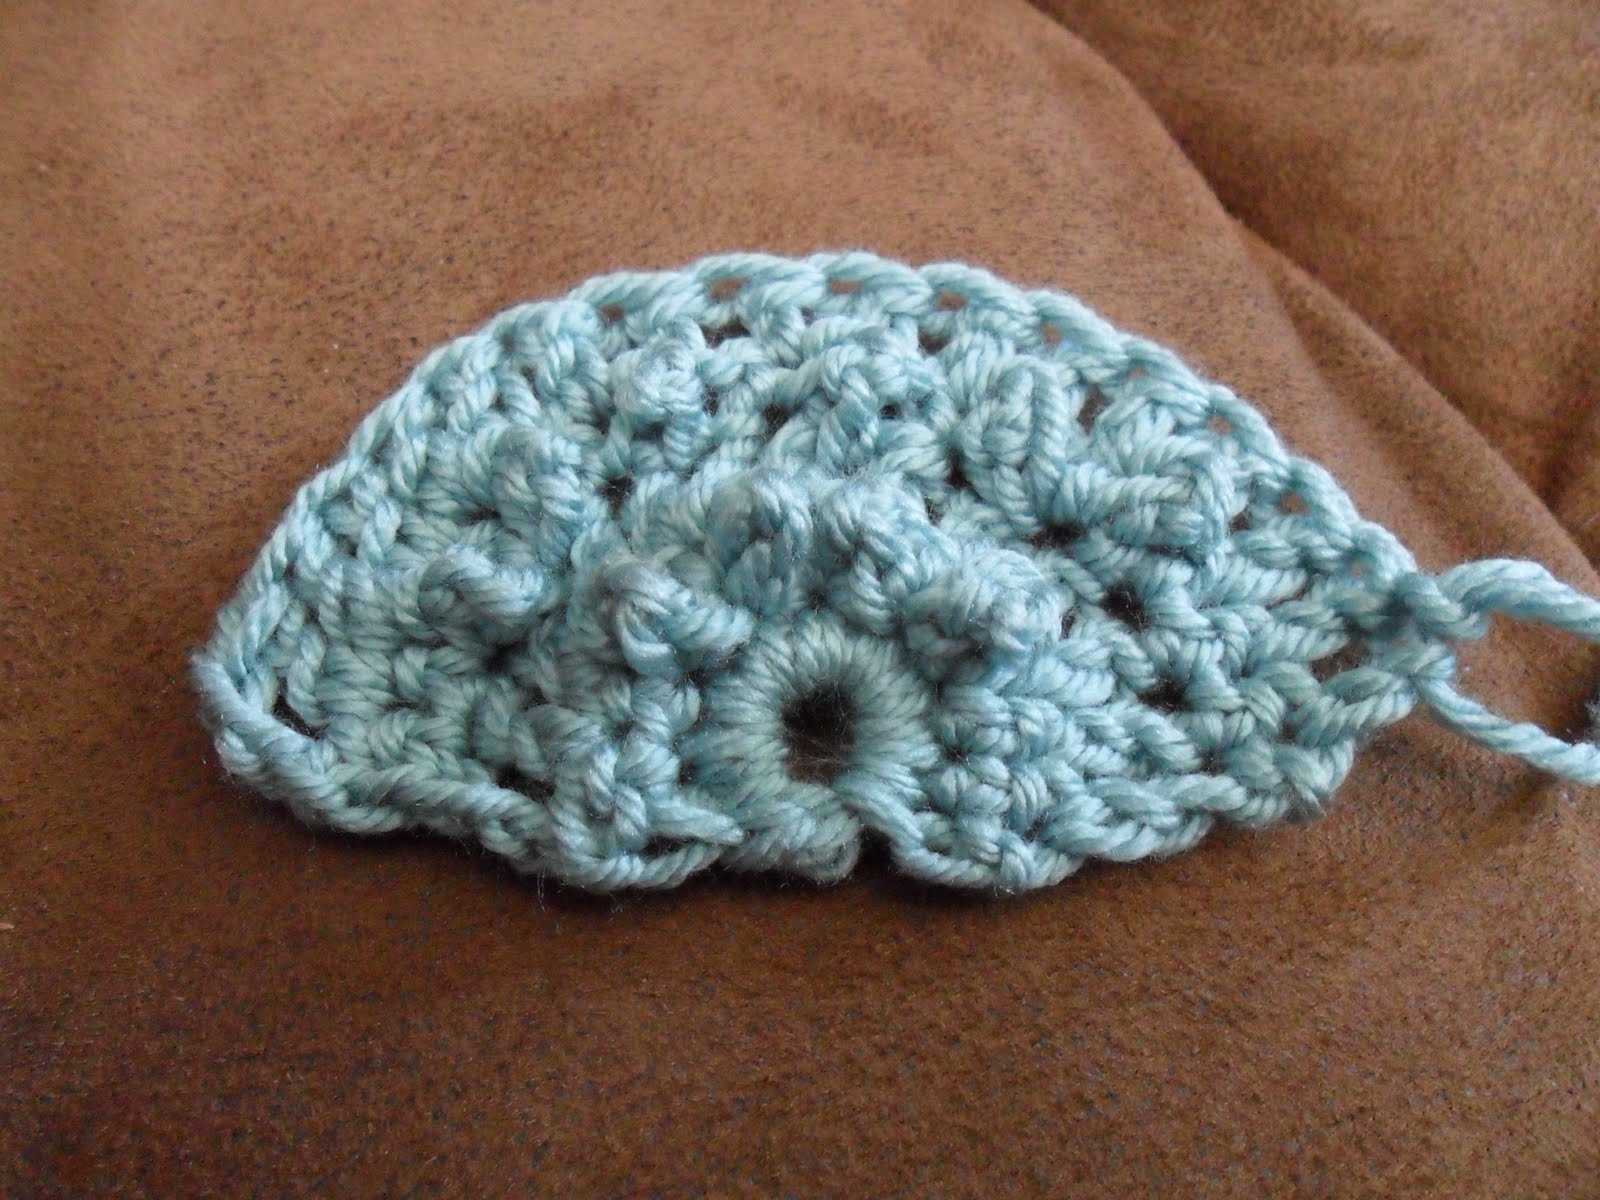
The white motif is from  Baby sport on Size 6 needles.
Both sizes to see the outcome.

This motif is from worsted wool on Size 8 needles.

Cookie's Bow Ties


This is the pattern for the motif. 
I will be making panels and merge together each panel.
In the swatch, I cast on 23 and slip stitched the first stitch and knit the 23 stitch for a smoother edge to put together for the panels. You may use  his as a discloth, or a blanket, your call. Just be creative!

Cast On 21 

Row 1 (RS): k1, p1, k1, p1, k1, p1, k1, p1, k1, p1, k1, p1, k1, p1, k7
Row 2 (WS): p8, k1, p1, k1, p1, k1, p1, k1, p1, k1, p1, k1, p1, k1
Row 3 (RS): k1, p1, k1, p1, k1, p1, k1, p1, k1, p1, k1, p1, k9
Row 4 (WS): p10, k1, p1, k1, p1, k1, p1, k1, p1, k1, p1, k1
Row 5 (RS): k1, p1, k1, p1, k1, p1, k1, p1, k1, p1, k11
Row 6 (WS): p10, k1, p1, k1, p1, k1, p1, k1, p1, k1, p1, k1
Row 7 (RS): k1, p1, k1, p1, k1, p1, k1, p1, k1, p3, k9
Row 8 (WS): k1, p7, k5, p1, k1, p1, k1, p1, k1, p1, k1
Row 9 (RS): k1, p1, k1, p1, k1, p1, k1, p7, k5, p1, k1
Row 10 (WS): k1, p1, k1, p3, k9, p1, k1, p1, k1, p1, k1
Row 11 (RS): k1, p1, k1, p1, k1, p11, k1, p1, k1, p1, k1
Row 12 (WS): k1, p1, k1, p1, k1, p1, k9, p3, k1, p1, k1
Row 13 (RS): k1, p1, k5, p7, k1, p1, k1, p1, k1, p1, k1
Row 14 (WS): k1, p1, k1, p1, k1, p1, k1, p1, k5, p7, k1
Row 15 (RS): k9, p3, k1, p1, k1, p1, k1, p1, k1, p1, k1
Row 16 (WS): k1, p1, k1, p1, k1, p1, k1, p1, k1, p1, k1, p10
Row 17 (RS): k11, p1, k1, p1, k1, p1, k1, p1, k1, p1, k1
Row 18 (WS): k1, p1, k1, p1, k1, p1, k1, p1, k1, p1, k1, p10
Row 19 (RS): k9, p1, k1, p1, k1, p1, k1, p1, k1, p1, k1, p1, k1
Row 20 (WS): k1, p1, k1, p1, k1, p1, k1, p1, k1, p1, k1, p1, k1, p8
Row 21 (RS): k7, p1, k1, p1, k1, p1, k1, p1, k1, p1, k1, p1, k1, p1,k1


Bind off. Block. Enjoy. Valis

Tuesday, August 31, 2010

New photos from Valis' Crochet Moment

Crochet View a long completed shawl as laid out.
Another layout view.
Front view of Shawl as placed on with its own self button closure.
Check out the photos from Valis' Crochet Moment This is the completed Valis' CVAL Shawl group. You're invited to join on Ravelry.


The revised pattern is corrected to the first post and on here, too. Will correct the videos,soon.


Back view of shawl.


On another note....


After making several shawls, such as the smokey gray tinsel, I started to see that there was a need to increase in the middle of the shawl. Again, the pattern is corrected.


 I love the way this shawl has its own neck shaping and edging.


The next item  in this post is the new teal circular shawl that will be out soon. This was made organically and now I have to figure write out the pattern. Almost done. So that's all for now and thanks for your patience!Valis


Monday, August 16, 2010

New Addition

My Photo for the crochet blog
Hey everyone!

Been sick for a while and doing better after a rest and recovery.
While resting, I decided to create a new blog for crochet.
It is Valis' Crochet Moment. To start, I added the CAL as the first post.
I am working on this teal colored circular shawl/blanket to be posted soon.
Thanks for your patience. Valis

Wednesday, July 28, 2010

Valis Crochet View- A-Long Part C

Welcome to our Crochet View-a-Long!

Finally completed the Revision videos for Part A and B. Part C is now on board. 
This was a short CAL but the fun is to see everyone's work and progress. 
Everyone has been so supportive and helpful. Thanks so much. 

This is such a great community and I feel privileged to be part of it, too.
I was impressed with everyone's background in this craft. Some of you could teach me a tip or two. 
 Lots of great talent out there.


My contribution to the CVAL

Well, here is my updated project with the CVAL and I really love this yarn. KP's Shadow-Golden Glow Lace Weight.

I also have another yarn to make another shawl (I'm on a roll) From Hobby Lobby, I love this yarn!-Stripes and the name is Seaspray stripe. This is the softest yarn as an acrylic and washable and dryable. 
This pattern works pretty fast and fun!
Here are the pics.
I Love this Yarn Stripes-Seaspray


For now, keep  on crocheting! Valis

Tuesday, July 27, 2010

Crochet View A Long Continued

Our project in the video


Ok, let's get started. In order to see the video and its contents, I thought it was better to place the instructions here. We don't need eye strain.

The Plan

If you are a beginner or need a refresher, please take the time to review the following: (Referencing Lionbrand Tutorial)
Abbreviations:
Part A: The Beginning
  1. Make a chain (ch)
  2. Make a single crochet (sc)
  3. Make a double crochet (dc)
  4. Make a triple crochet (tc)
  5. Make a slip stitch (ss)
  6. Join a chain into a circle. 
  7. Make a special shell of 5dc in 1dc stitch (st)
The Set Up

To learn this pattern, I suggest any worsted weight yarn.
1 I/9 5.5mm crochet hook.
2 stitch markers. Place marker (pm)
1 pr of Scissors
1 blunt end needle for weaving in those loose threads.
Another close up example
1 measuring tape.

The Pattern: Part A Video

Round 1
  1. Chain (ch) 3. 
  2. Make a circle by slip stitch (ss) of 3rd chain into the 1st ch as a join. (Makes a tiny circle)
Round 2
  1. Ch 1 and insert the hook in the tiny hole and make a single crochet stitch (sc).
  2. Make 8 more sc in this circle.
  3. Ss the 9th st into 1st ch1.
  4. Total 9 sts.
This is where we move from the circle to a half circle to work this project back and forth.


Working back and forth


Row 3
  1. Ch 1 and turn.( This represents the first sc in the row)
  2. 1 sc in the next 2 sc and place marker (pm)
  3. 3 sc in the next sc.
  4. 1 sc in the next sc.
  5. 3 sc in the next sc.
  6. pm and 1sc in the last 3 sc.
  7. Total:13 sts


Row 4
  1. Ch 3 and turn.(This represents the first dc in the row)
  2. 1 dc in the next 2 dc and pm.
  3. 5dc in the next dc.
  4. 1 dc in the next 5 dc.
  5. 5 dc in the next dc.
  6. pm and 1 dc in the last 3 dc.
  7. Total: 21 sts.
The Pattern:  Part B Video Revised

Row 5
  1. Ch 1 and turn.
  2. 1 sc in the next 2 dc and pm.
  3. Triple crochet (tc) in the next dc.
  4. 1 sc in the next dc.
  5. Continue (tc in the next dc and 1 sc in the next dc) until you get to the last 3 dc.
  6. pm and 1 sc in the last 3 dc.
  7. Another swatch as a reference
  8. Total: 21 sts.
Row 6
  1. Ch 3 and turn.
  2. Dc in the next  2 sc and pm.
  3. Make 5 dc in the next tc.
  4. Dc in the next 13 sts.
  5. Make 5 dc in the next tc.
  6. pm and dc in the last 3 sc.
  7. Total: 29 sts.
Do you see how the pattern works? It alternates with one row of dc and the next row of tc with sc.

Soooooooooooooooooooo.......
Row 7
  • Repeat Row 5.
Row 8
  • Repeat Row 6.

Where we stopped from Part B
Continue in this manner until the base of the shawl becomes 60-70 inches long.

15 inches from the top of the semi-circle to the base as a shawlette or go further.


The Progress

  • I know this is a short CVAL but Part C will cover Rows 7 and 8 and see the final outcome and its edging.

  • Be Creative! The purpose is to promote creativity and uniqueness.

  • You can add a picot edge or shells.

  • You can change anything on this pattern, for it is a guide to a half-circle shape.

  • Just be forgiving of my videos. After 11-12 tries, anything more than 2 minutes is tough.

  • Just enjoy and have fun with this project.
  • Don't forget: If you use lace yarn, take it slow and easy!

  • My gratitude to those who joined my Ravelry group on Valis' Crochet View-A-Long. Thanks so much!!!!!

  • Let's see those photos, and introduce yourself.
  • Don't forget to weave in ends with blunt end needle or crochet hook.
  • Remember to block your work.


    Making Crochet Magic!!! Valis

    Monday, July 26, 2010

    Valis'Crochet View-A-Long


    Just wanted to let everyone know that I made a crochet view-a-long. Everything in video with instructions included. Still using silent movie with music genre but hey, that's me. 


    Also, added a crochet group in Ravelry, too.
    It's Valis' Crochet View-A-Long.


    Never done one before, so we have a new territory to visit. Some people don't like to wait so, I also did a PDF in general form to share.


    Now, I'll be doing this as I go, so in essence it a CAL...for me. ;)
    The photos are my swatches I've been working on and completing the video.Soooooooooon!!
    Until then, make crochet magic! Valis

    Thursday, July 22, 2010

    A Gift for Mara


    Shrug-using autumnal colors
    When I work evenings on Wednesday nite, I stop by Kirby Lane for their great sweet potato fries. So awesome with their chipotle mayonaise on the side.
    So nice outside-had to take photo


    And there is Mara, this hard working gal at Kirby Lane. Always a smile and always serving her customers with  such commitment. I wanted to do something for her to say "thank you" for making this place a great Austin attraction.
    So, I made her a shrug from my pattern and embellished it with the elongated stitch and crochet edge back from Mypicot.com.
    I tapered the cuffs and added  a button to each side.

    back side


    front side


    Hope you enjoy and happy knitting! Valis

    Friday, July 9, 2010

    Completed Valis' Short Sleeve Shrug


    Finally completed the Short Sleeve Shrug. New pics are here.


    Decided to use in Elongated Stitch and kept to the measurements very nicely. This measurement is for Large/Xtra Large Size. A medium size young lady tried it on and the arms were longer and roomy from the middle section. Now, she liked it because she can add a blouse underneath with room to spare. Please swatch your projects. This  shrug fit myself and another plus size young lady perfectly. For myself, I might go 17 inches from back of neck to hip, personally. This young lady loved the fit as I originally measured as the prototype.


    It took only One skein of Worsted Weight Yarn.
    With the Elongated Stitch, the edging to the arms are really nice.


    For the neck and back, you can slip stitch with a crochet hook or single crochet to obtain a smoother edging to the neck and back area. Hey, I believe you can continue embellishing to your hearts content.

    I truly love this pattern and getting ready to make more for upcoming Christmas gifts, Birthdays, and for charity, too.
    New videos for the progress of this project  on youtube along with the stitch guide video and pics available to you on Ravelry.
    Decided to add the pattern again:
    The Plan:
    1. Size 8/24 inch circular needles to work project back and forth.
    2. 4 Stitch markers.
    3. Worsted weight yarn. For this project,1 Skein-Total of 250-350 yds.
    4. Darning needle.
    5. Scissors.
    6. Measurements: Worked in Garter Stitch.
    7. Gauge: 18 stitches (sts) per 4 inches.
    (For example, I am 32 inches measured from elbow to elbow across.
    I am a plus size and I am doing a short sleeve shrug as a prototype.)
    8. Gauge: 24 rows per 4 inches.
    (For example, I measures 15 inches from the back of the neck to the hip.)
    ____________inches Total Across: Elbow to Elbow

    1/4 ___sts Arm      1/2___sts Neck   1/4___sts Arm      
    ___________________________________________
                                                                                                  ____inches Down from Back of Neck to Hip
                                                                                                  ____knitted rows


     Pink shaded area is the rectangled shrug
     9. Cast on your  ___ sts.
    (My cast on is 144 sts. The arms are 32 sts for each arm and 72 sts for neck.) 

    The Pattern:
    1. Garter stitch the first 1/4 total sts and place marker (pm), then knit (k)  1/2 total sts, pm; k the last 1/4 sts. Leave the markers there.
    (For me, total of 144 sts=k36, pm, k72, pm, k36.)


    2. The total amount of rows = the measurement from the back of the neck to the hip. Check your gauge on your swatch or you skein label to determine your rows.
    (For me, the measurement is 15 inches. My gauge in a 4X4 swatch is 18sts X 24 rows.  (6 rows per inch X 15 inches =90 rows.) After completing this shrug-some have requested to make the back length to 17 inches. Your choice!
    3. Once you completed to the final row, bind off. Use scissors to cut off a very long piece of yarn. Place the second set of markers as in step 1 so as to keep the markers in place to sew with the darning needle the 2 arm placements.
    4. Sew the 2 arm placements together.
    5. Try on your new shrug.
    6. Try any stitch you want to use. Add a ruffle, or add fringe.  Be creative!
    7. Block.


    Remember, you make knitting magic! Valis