
 |
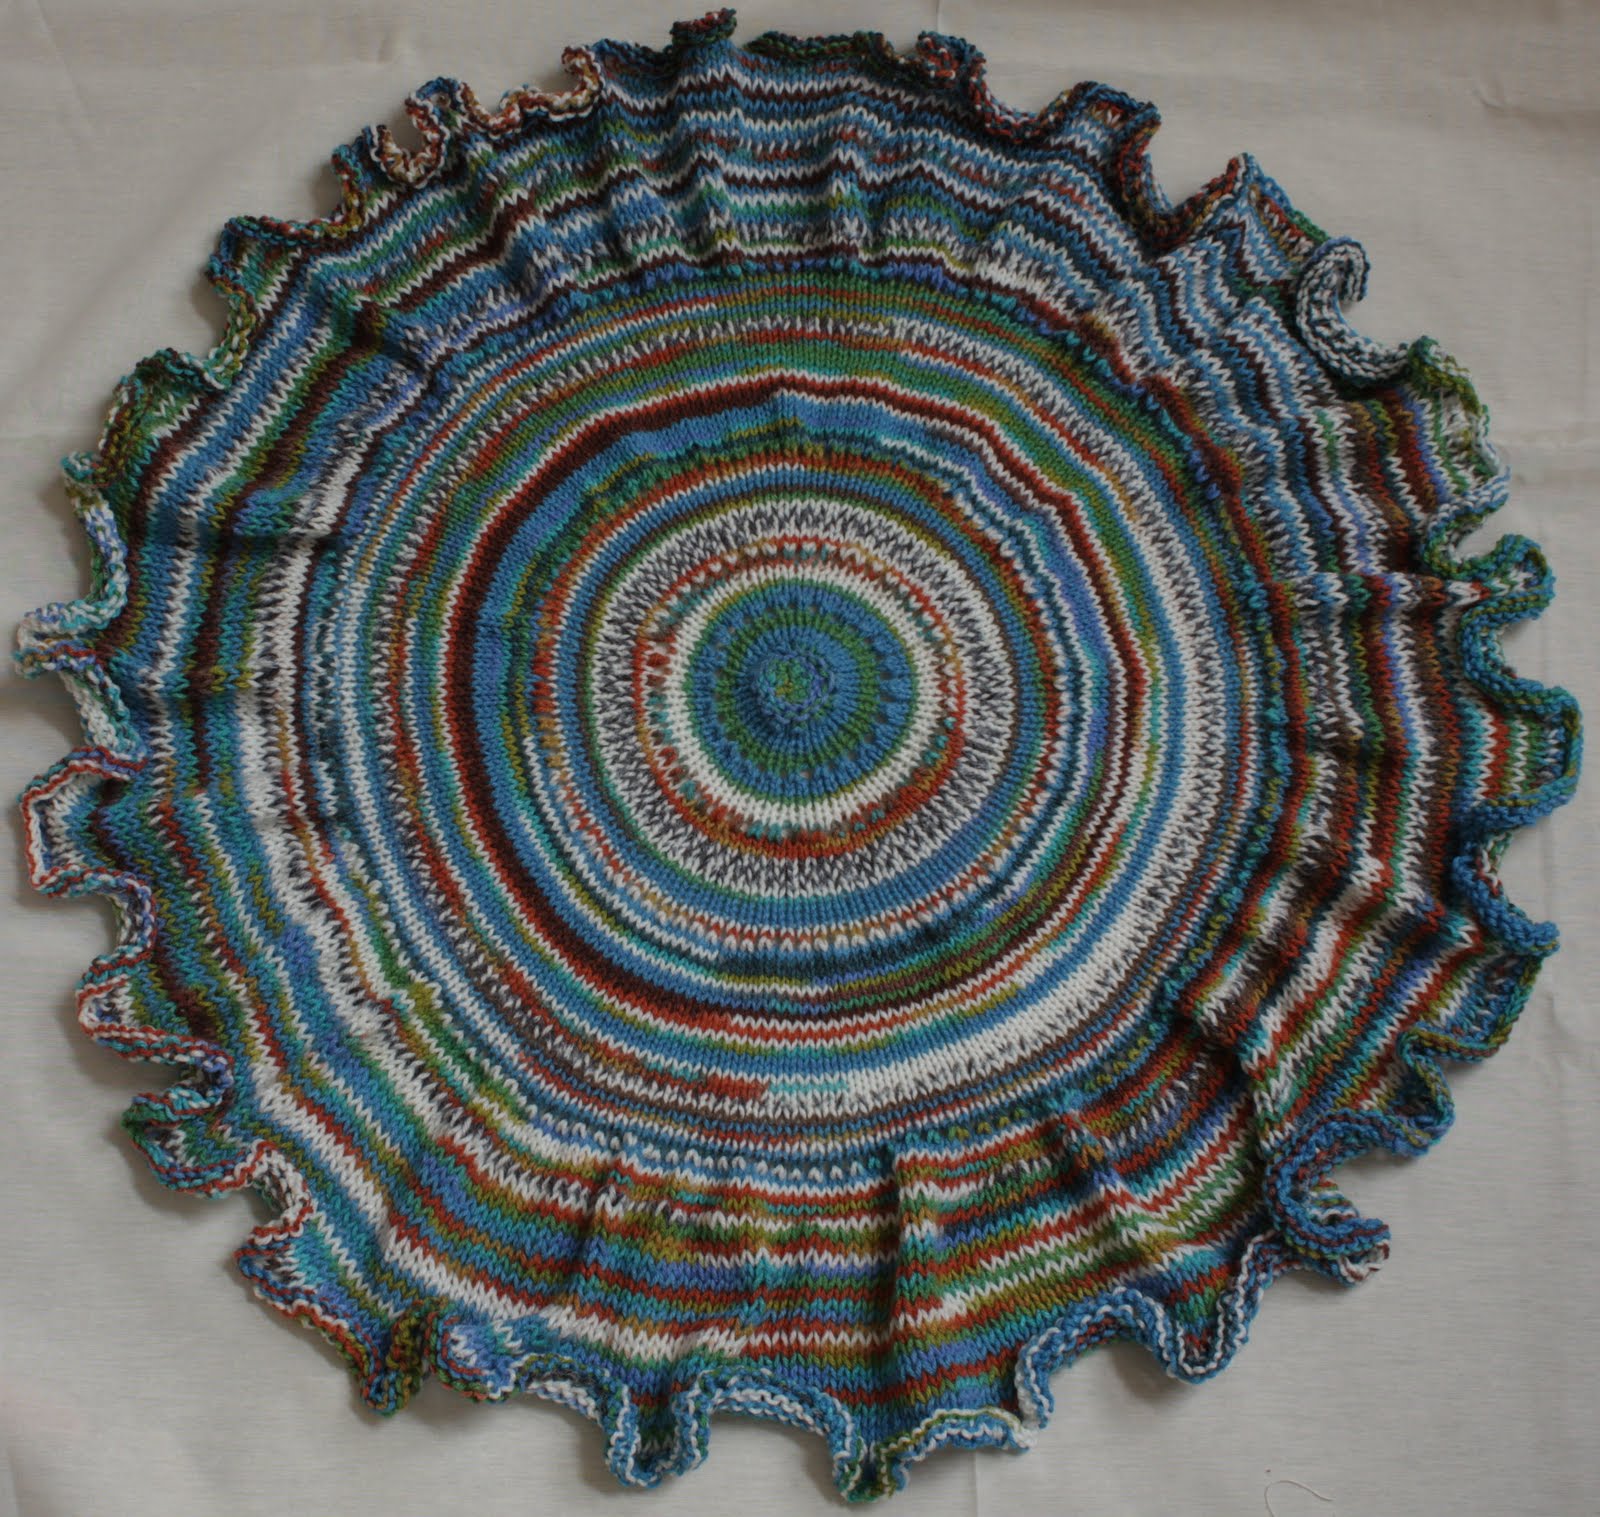
| Our project in the video |
Ok, let's get started. In order to see the video and its contents, I thought it was better to place the instructions here. We don't need eye strain.
The Plan
If you are a beginner or need a refresher, please take the time to review the following: (Referencing Lionbrand Tutorial)
Abbreviations:
 |
| Part A: The Beginning |
- Make a chain (ch)
- Make a single crochet (sc)
- Make a double crochet (dc)
- Make a triple crochet (tc)
- Make a slip stitch (ss)
- Join a chain into a circle.
- Make a special shell of 5dc in 1dc stitch (st)
To learn this pattern, I suggest any worsted weight yarn.
1 I/9 5.5mm crochet hook.
2 stitch markers. Place marker (pm)
1 pr of Scissors
1 blunt end needle for weaving in those loose threads.
 |
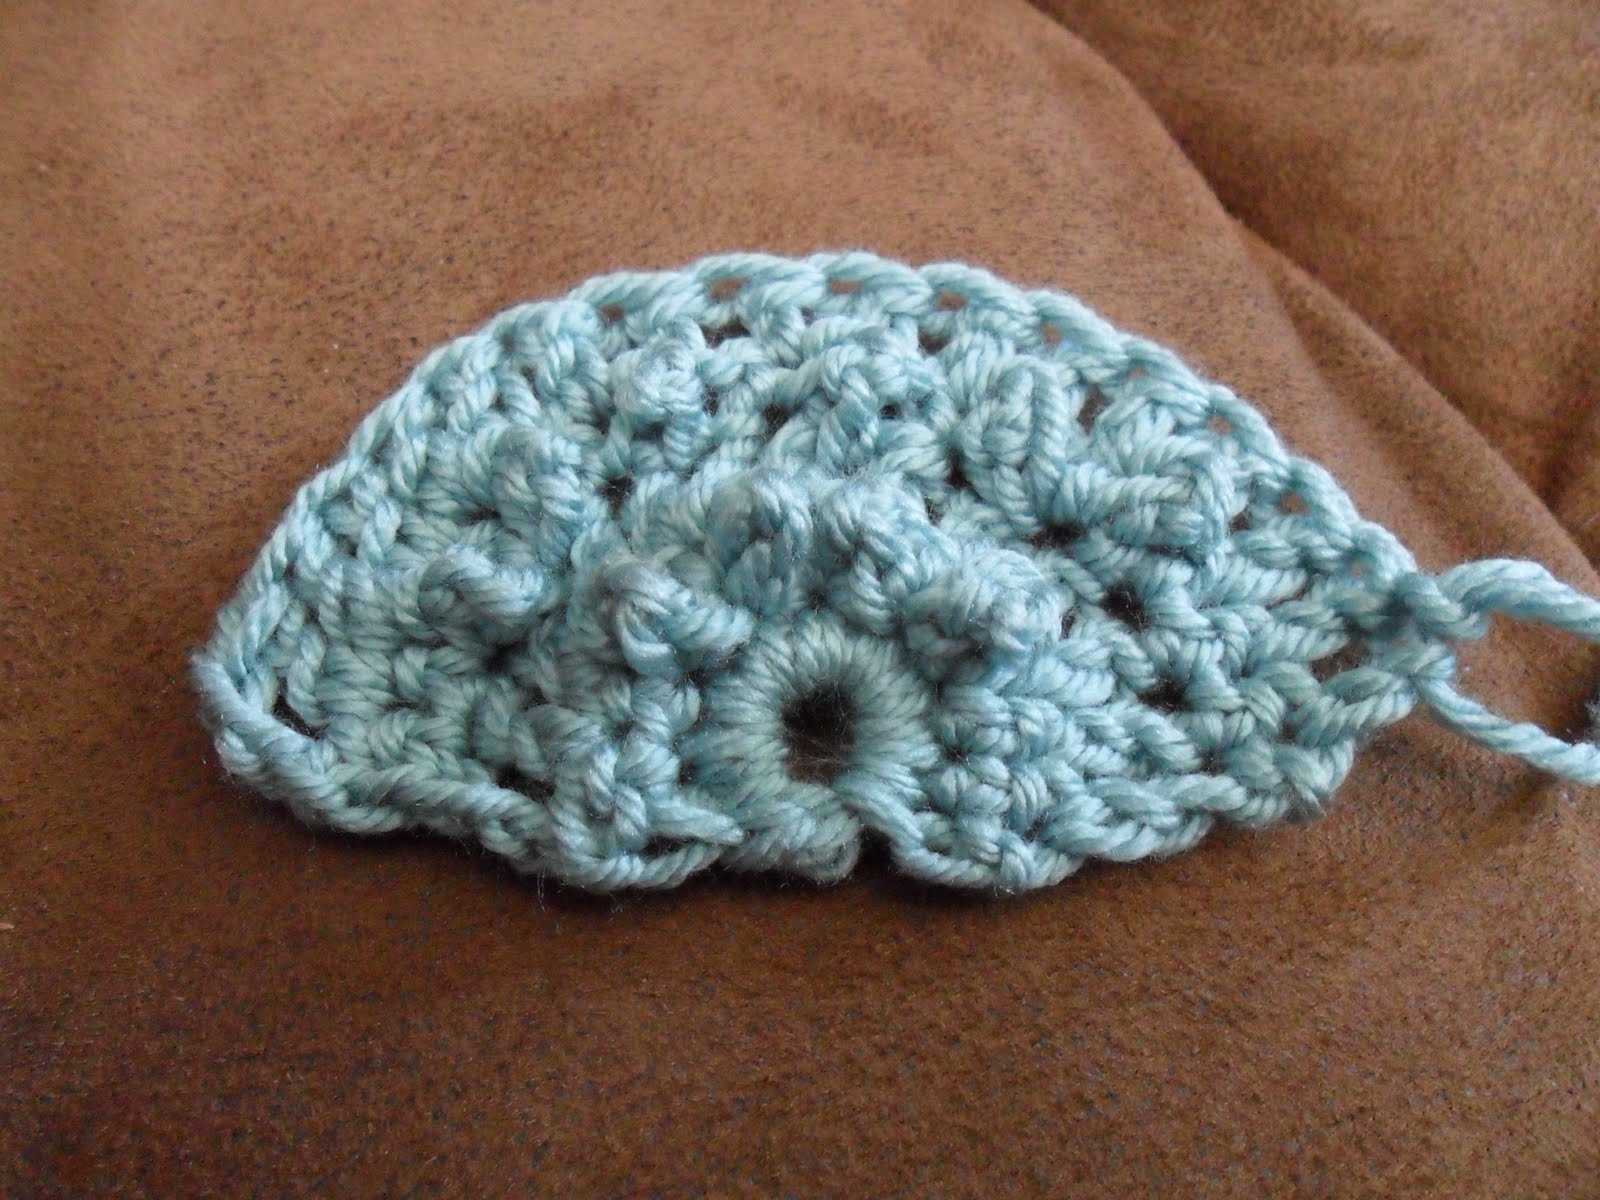
| Another close up example |
The Pattern: Part A Video
Round 1
- Chain (ch) 3.
- Make a circle by slip stitch (ss) of 3rd chain into the 1st ch as a join. (Makes a tiny circle)
- Ch 1 and insert the hook in the tiny hole and make a single crochet stitch (sc).
- Make 8 more sc in this circle.
- Ss the 9th st into 1st ch1.
- Total 9 sts.
 |
Working back and forth |
Row 3
- Ch 1 and turn.( This represents the first sc in the row)
- 1 sc in the next 2 sc and place marker (pm)
- 3 sc in the next sc.
- 1 sc in the next sc.
- 3 sc in the next sc.
- pm and 1sc in the last 3 sc.
- Total:13 sts
Row 4
- Ch 3 and turn.(This represents the first dc in the row)
- 1 dc in the next 2 dc and pm.
- 5dc in the next dc.
- 1 dc in the next 5 dc.
- 5 dc in the next dc.
- pm and 1 dc in the last 3 dc.
- Total: 21 sts.
Row 5
- Ch 1 and turn.
- 1 sc in the next 2 dc and pm.
- Triple crochet (tc) in the next dc.
- 1 sc in the next dc.
- Continue (tc in the next dc and 1 sc in the next dc) until you get to the last 3 dc.
- pm and 1 sc in the last 3 dc.
- Total: 21 sts.
 |
| Another swatch as a reference |
- Ch 3 and turn.
- Dc in the next 2 sc and pm.
- Make 5 dc in the next tc.
- Dc in the next 13 sts.
- Make 5 dc in the next tc.
- pm and dc in the last 3 sc.
- Total: 29 sts.
Soooooooooooooooooooo.......
Row 7
- Repeat Row 5.
- Repeat Row 6.
 |
| Where we stopped from Part B |
15 inches from the top of the semi-circle to the base as a shawlette or go further.
The Progress
- I know this is a short CVAL but Part C will cover Rows 7 and 8 and see the final outcome and its edging.
- Be Creative! The purpose is to promote creativity and uniqueness.
- You can add a picot edge or shells.
- You can change anything on this pattern, for it is a guide to a half-circle shape.
- Just be forgiving of my videos. After 11-12 tries, anything more than 2 minutes is tough.
- Just enjoy and have fun with this project.
- Don't forget: If you use lace yarn, take it slow and easy!
- My gratitude to those who joined my Ravelry group on Valis' Crochet View-A-Long. Thanks so much!!!!!
- Let's see those photos, and introduce yourself.
- Don't forget to weave in ends with blunt end needle or crochet hook.
- Remember to block your work.
Making Crochet Magic!!! Valis