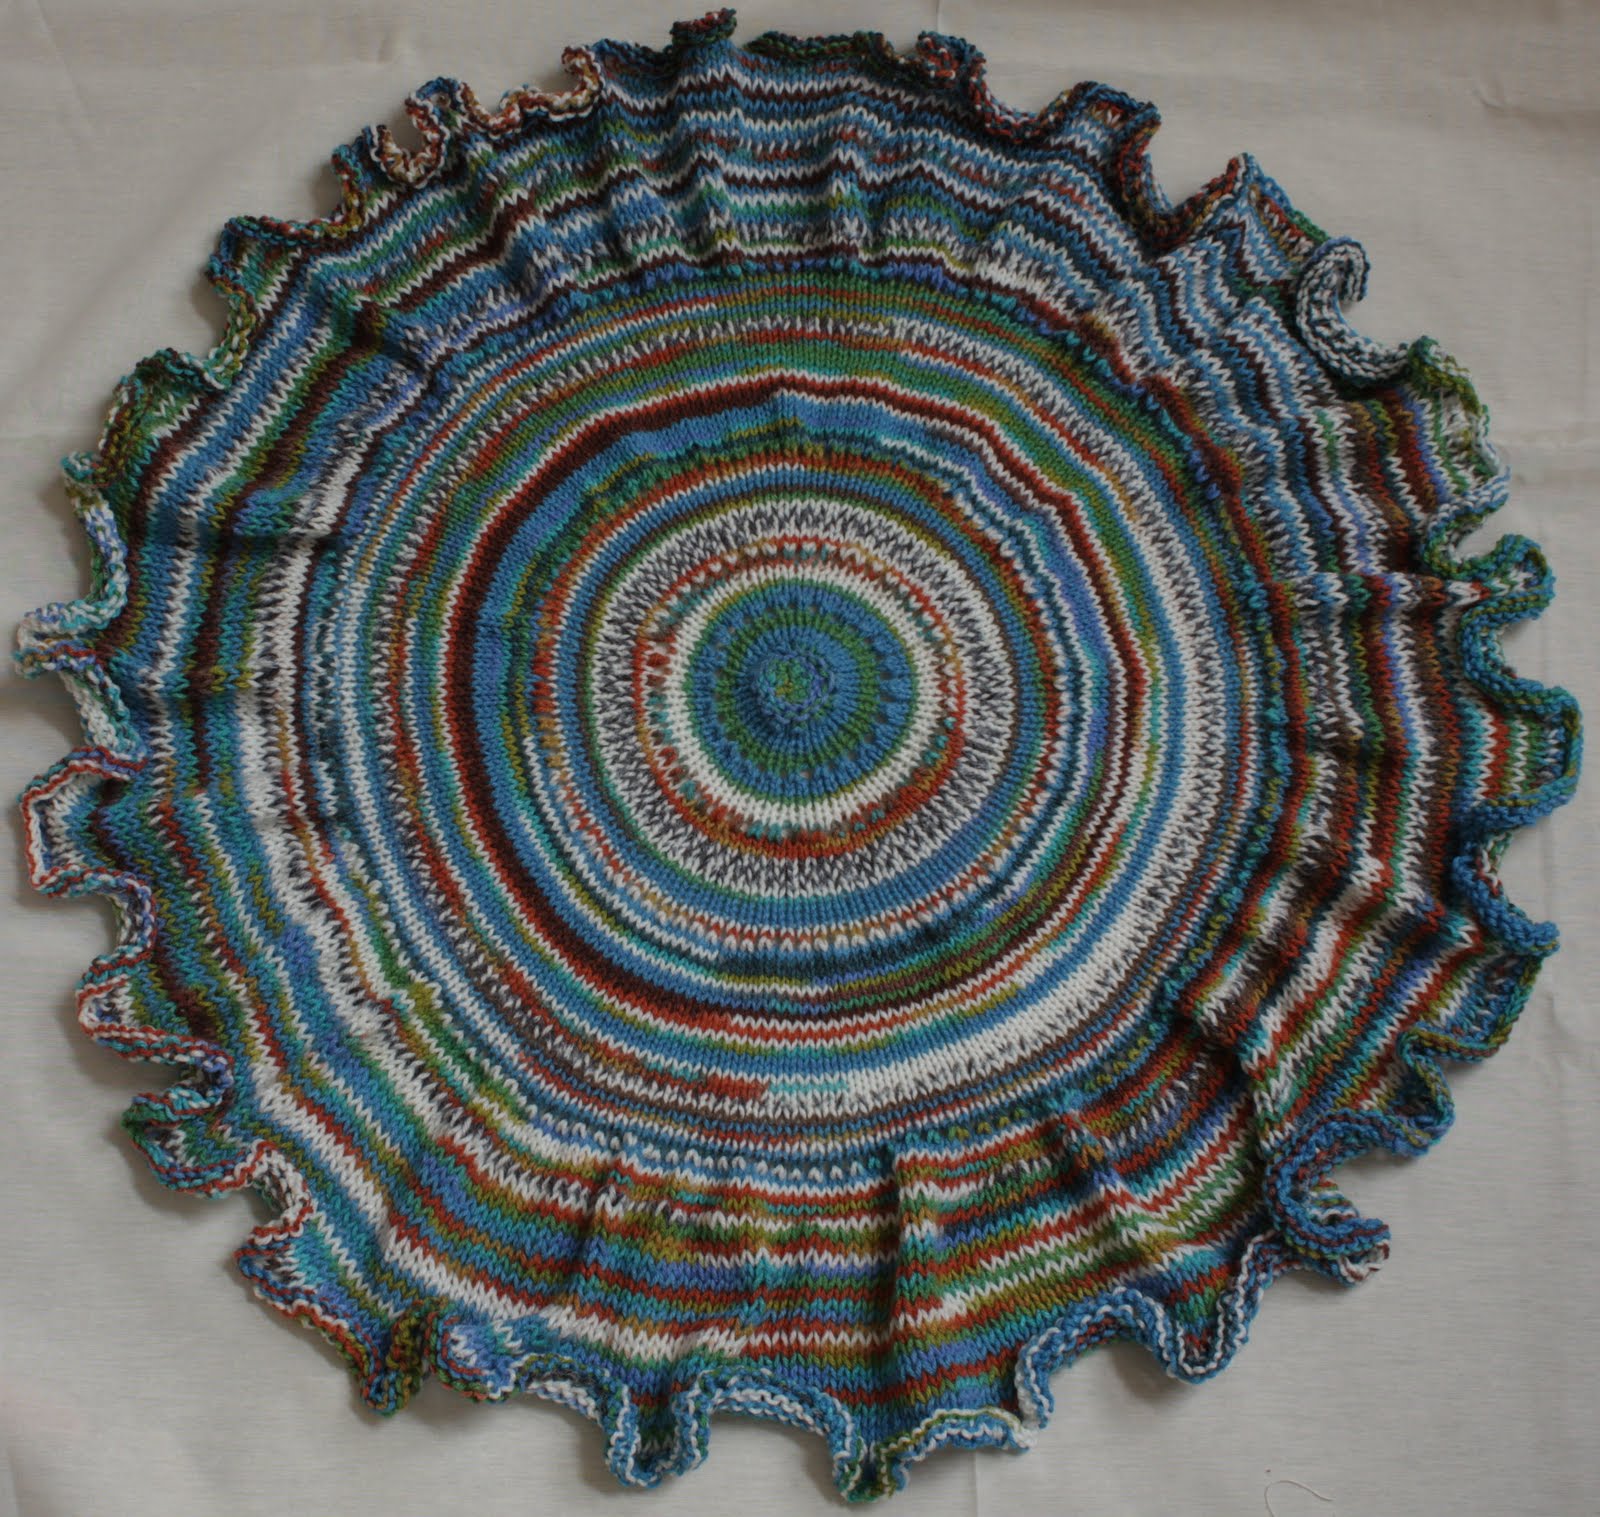
Finally completed the
Short Sleeve Shrug. New pics are here.
Decided to use in
Elongated Stitch and kept to the measurements very nicely. This measurement is for Large/Xtra Large Size. A medium size young lady tried it on and the arms were longer and roomy from the middle section. Now, she liked it because she can add a blouse underneath with room to spare. Please swatch your projects. This shrug fit myself and another plus size young lady perfectly. For myself, I might go 17 inches from back of neck to hip, personally. This young lady loved the fit as I originally measured as the prototype.

It took only One skein of Worsted Weight Yarn.
With the Elongated Stitch, the edging to the arms are really nice.

For the neck and back, you can slip stitch with a crochet hook or single crochet to obtain a smoother edging to the neck and back area. Hey, I believe you can continue embellishing to your hearts content.
I truly love this pattern and getting ready to make more for upcoming Christmas gifts, Birthdays, and for charity, too.
New videos for the progress of this project on
youtube along with the
stitch guide video and pics available to you on
Ravelry.
Decided to add the pattern again:
The Plan:
1. Size 8/24 inch circular needles to work project back and forth.
2. 4 Stitch markers.
3. Worsted weight yarn. For this project,1 Skein-Total of 250-350 yds.
4. Darning needle.
5. Scissors.
6. Measurements: Worked in Garter Stitch.
7. Gauge: 18 stitches (sts) per 4 inches.
(For example, I am 32 inches measured from elbow to elbow across.
I am a plus size and I am doing a short sleeve shrug as a prototype.)
8. Gauge: 24 rows per 4 inches.
(For example, I measures 15 inches from the back of the neck to the hip.)
____________inches Total Across: Elbow to Elbow
1/4 ___sts Arm 1/2___sts Neck 1/4___sts Arm
___________________________________________
____inches Down from Back of Neck to Hip
____knitted rows
Pink shaded area is the rectangled shrug
9. Cast on your ___ sts.
(My cast on is 144 sts. The arms are 32 sts for each arm and 72 sts for neck.)
The Pattern:
1. Garter stitch the first 1/4 total sts and place marker (pm), then knit (k) 1/2 total sts, pm; k the last 1/4 sts. Leave the markers there.
(For me, total of 144 sts=k36, pm, k72, pm, k36.)

2. The total amount of rows = the measurement from the back of the neck to the hip. Check your gauge on your swatch or you skein label to determine your rows.(For me, the measurement is 15 inches. My gauge in a 4X4 swatch is 18sts X 24 rows. (6 rows per inch X 15 inches =90 rows.) After completing this shrug-some have requested to make the back length to 17 inches. Your choice!
3. Once you completed to the final row, bind off. Use scissors to cut off a very long piece of yarn. Place the second set of markers as in step 1 so as to keep the markers in place to sew with the darning needle the 2 arm placements.
4. Sew the 2 arm placements together. 5. Try on your new shrug.
 6. Try any stitch you want to use. Add a ruffle, or add fringe. Be creative!
7. Block.
Remember, you make knitting
magic! Valis


