Custom Search
Showing posts with label crochet crochet-a-long free crochet pattern. Show all posts

Wednesday, March 30, 2011

Next Step


 Ready for the next Round? Here it is...


What the face and ears should look like.


Plan:
    
  • To add a smile to the face.
  • To make the ears and sew on symmetrically.
  • To work from the bottom up to connect the 2 legs.


Part 2 A: The face and add ears.
 
Face: Embroider the mouth with a simple stitich across.
Smile made.


Ears: Make 2 and use skin tone yarn.
  • 1. Ch 2. 6 sc in the 2nd ch. Sl st to beginning st and bind off. [6]
  • Pin the 2 ears to each side of the head. 
  • Sew the ears on.
Ears made and pinned to head to make sure they are symmetrical.


Ears sewn on.


Part 2 B:  Shoes and legs.


Shoes: Make 2 in black yarn. 


  • 1. Ch 2.  6 sc in the 2nd ch. [6]
  • 2. 2 sc in all 6 sc. (inc) [12]
  • 3. 1 sc in the next st, 2 sc in the next sc*, repeat 5 more times. [18]
  • 4. Place marker (pm),1 sc in the next 18 sc. [18]
  • 5. 1 sc in the next 18 sc. [18]
  • 6. 1 sc in the next sc, dec in the next sc*, repeat 5 more times. [12]
  • 7. 1 sc in the next 12 sc.  Sl st to beginning st and bind off. [12]
  • 
     
    Shoe made.
    
  • Shoe made.

  
This completes shoes...now let's add the legs. Black yarn is cut enough to weave in later.

Beginning to change colors.


Adding the leg to the shoe.


Adding more  to the leg and stuffing as you go


Legs:
  • Make 2 in flesh tone yarn.
  • Move the marker here for now.
  • The leg will be 12 sc around for 15 rows.
  •  
  •   After the 1st leg is done, cut the tail to about 1 inch to weave in later.
  • 
    15 rows completed.


  • 

  •  
    Keeping the leg stuffed as you crochet up.
    
 
Start of the second leg.


After the 2nd leg is done, do not fasten off.
  • Hold the legs together. 
  • 1 sc in the next 12 sc around of one leg and then continue to crochet the 1 sc in the 2nd leg's
  •  
  • 12 sc around. [24]
 
Once the 2nd leg is completed, start to connect the two legs.


Added a piece of black thread as a marker to show that 12 sc were done on the 1st leg.


Completed the 12 sc on the second leg.


Completed 24 sc around as the beginning of the lower trunk.


This holds the lower part of the torso and we will crochet up to the begiinning of the chest and add the colored yarn for the chest as the top of the dress.
Does this make sense?


I decided to incorporate the dress on the body when I first made them.
For those that are advanced or adventerous may continue all the way up and add a dress
later. I've done that , too.

Remember, this is your project. I just want to share my pattern and let you embellish as you
choose. That's part of the fun.


Tuesday, July 27, 2010

Crochet View A Long Continued

Our project in the video


Ok, let's get started. In order to see the video and its contents, I thought it was better to place the instructions here. We don't need eye strain.

The Plan

If you are a beginner or need a refresher, please take the time to review the following: (Referencing Lionbrand Tutorial)
Abbreviations:
Part A: The Beginning
  1. Make a chain (ch)
  2. Make a single crochet (sc)
  3. Make a double crochet (dc)
  4. Make a triple crochet (tc)
  5. Make a slip stitch (ss)
  6. Join a chain into a circle. 
  7. Make a special shell of 5dc in 1dc stitch (st)
The Set Up

To learn this pattern, I suggest any worsted weight yarn.
1 I/9 5.5mm crochet hook.
2 stitch markers. Place marker (pm)
1 pr of Scissors
1 blunt end needle for weaving in those loose threads.
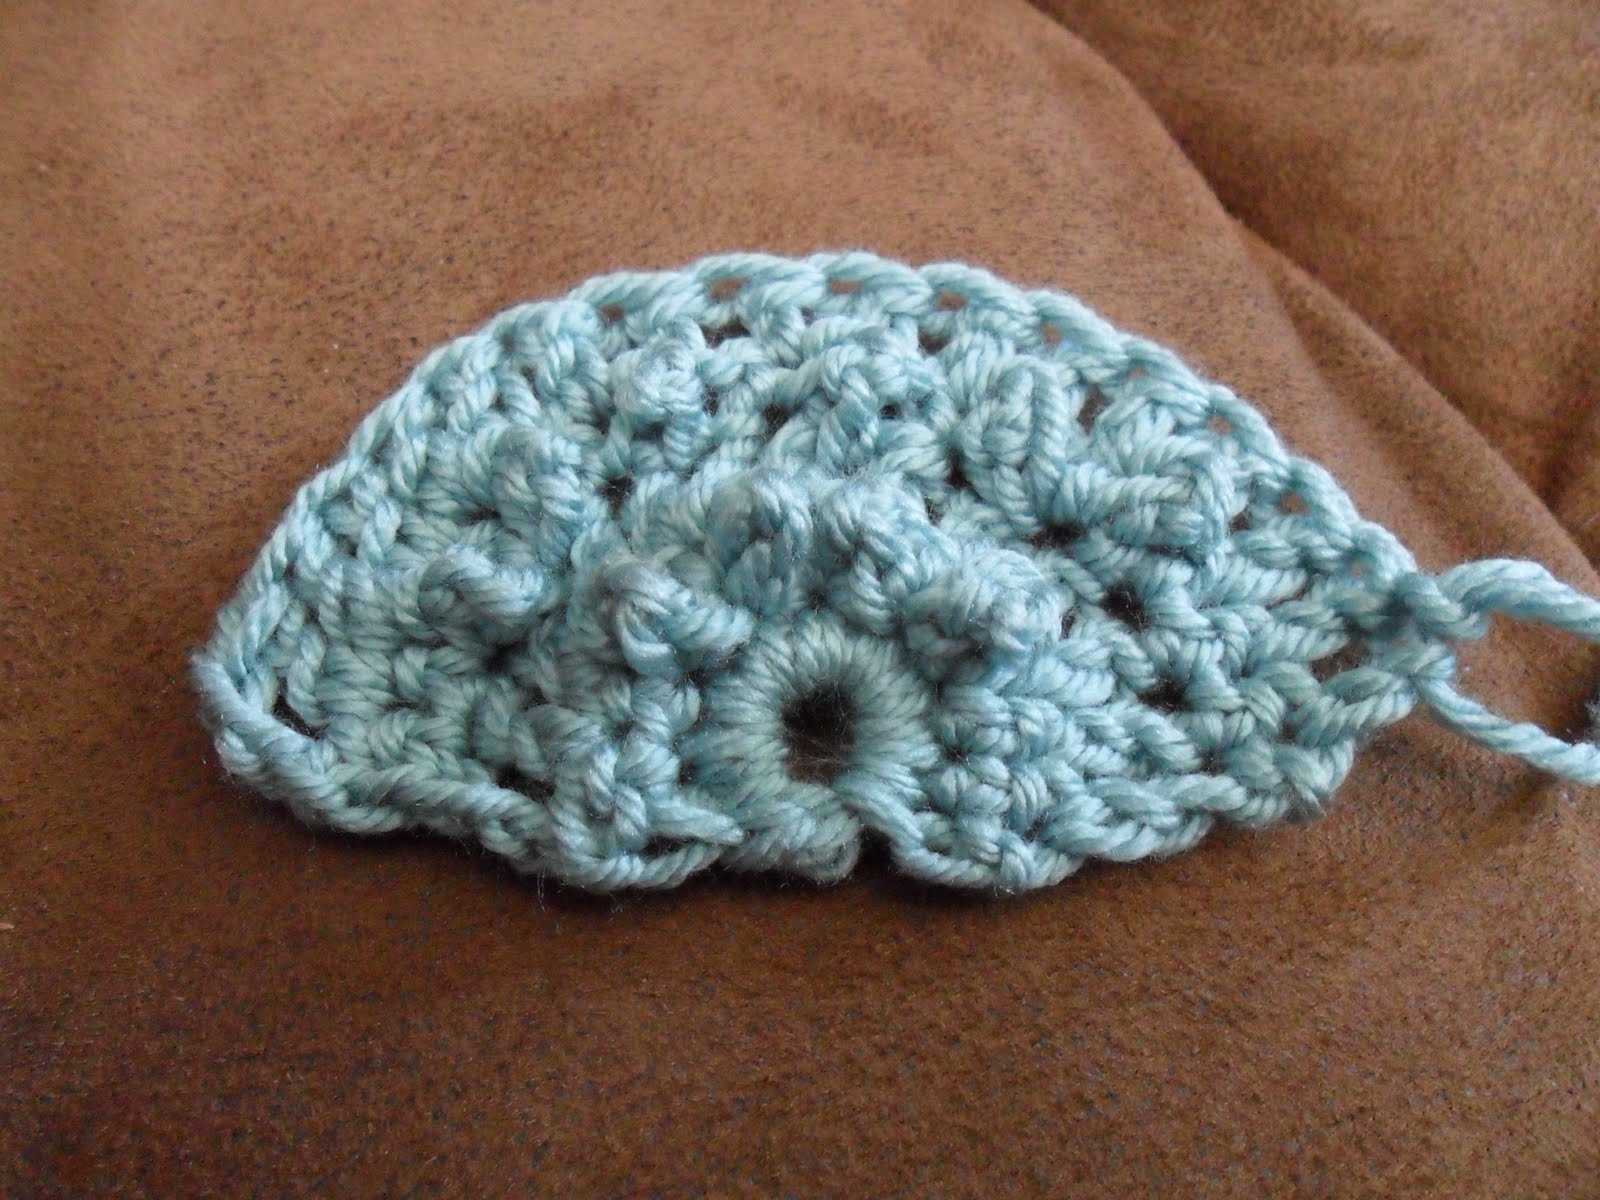
Another close up example
1 measuring tape.

The Pattern: Part A Video

Round 1
  1. Chain (ch) 3. 
  2. Make a circle by slip stitch (ss) of 3rd chain into the 1st ch as a join. (Makes a tiny circle)
Round 2
  1. Ch 1 and insert the hook in the tiny hole and make a single crochet stitch (sc).
  2. Make 8 more sc in this circle.
  3. Ss the 9th st into 1st ch1.
  4. Total 9 sts.
This is where we move from the circle to a half circle to work this project back and forth.


Working back and forth


Row 3
  1. Ch 1 and turn.( This represents the first sc in the row)
  2. 1 sc in the next 2 sc and place marker (pm)
  3. 3 sc in the next sc.
  4. 1 sc in the next sc.
  5. 3 sc in the next sc.
  6. pm and 1sc in the last 3 sc.
  7. Total:13 sts


Row 4
  1. Ch 3 and turn.(This represents the first dc in the row)
  2. 1 dc in the next 2 dc and pm.
  3. 5dc in the next dc.
  4. 1 dc in the next 5 dc.
  5. 5 dc in the next dc.
  6. pm and 1 dc in the last 3 dc.
  7. Total: 21 sts.
The Pattern:  Part B Video Revised

Row 5
  1. Ch 1 and turn.
  2. 1 sc in the next 2 dc and pm.
  3. Triple crochet (tc) in the next dc.
  4. 1 sc in the next dc.
  5. Continue (tc in the next dc and 1 sc in the next dc) until you get to the last 3 dc.
  6. pm and 1 sc in the last 3 dc.
  7. Another swatch as a reference
  8. Total: 21 sts.
Row 6
  1. Ch 3 and turn.
  2. Dc in the next  2 sc and pm.
  3. Make 5 dc in the next tc.
  4. Dc in the next 13 sts.
  5. Make 5 dc in the next tc.
  6. pm and dc in the last 3 sc.
  7. Total: 29 sts.
Do you see how the pattern works? It alternates with one row of dc and the next row of tc with sc.

Soooooooooooooooooooo.......
Row 7
  • Repeat Row 5.
Row 8
  • Repeat Row 6.

Where we stopped from Part B
Continue in this manner until the base of the shawl becomes 60-70 inches long.

15 inches from the top of the semi-circle to the base as a shawlette or go further.


The Progress

  • I know this is a short CVAL but Part C will cover Rows 7 and 8 and see the final outcome and its edging.

  • Be Creative! The purpose is to promote creativity and uniqueness.

  • You can add a picot edge or shells.

  • You can change anything on this pattern, for it is a guide to a half-circle shape.

  • Just be forgiving of my videos. After 11-12 tries, anything more than 2 minutes is tough.

  • Just enjoy and have fun with this project.
  • Don't forget: If you use lace yarn, take it slow and easy!

  • My gratitude to those who joined my Ravelry group on Valis' Crochet View-A-Long. Thanks so much!!!!!

  • Let's see those photos, and introduce yourself.
  • Don't forget to weave in ends with blunt end needle or crochet hook.
  • Remember to block your work.


    Making Crochet Magic!!! Valis